Main window
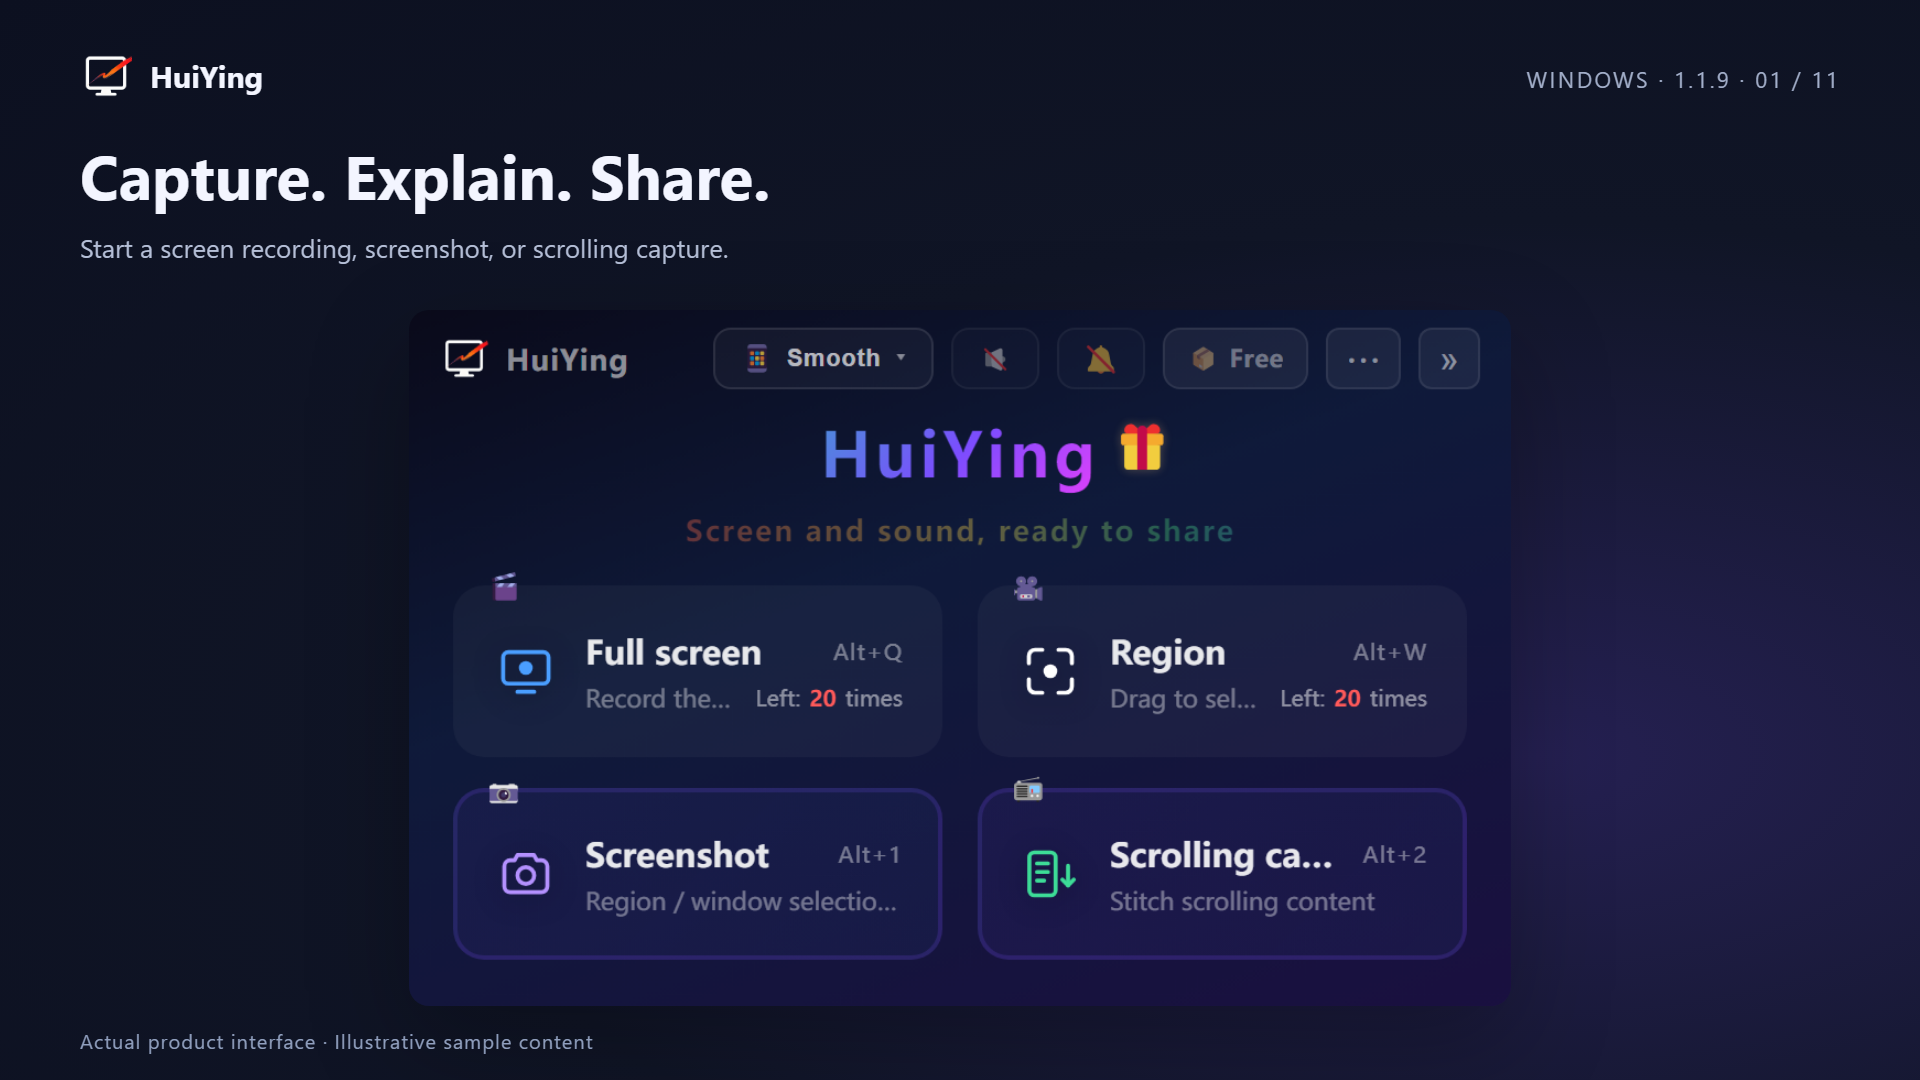
Follow the steps for recording, screenshots and annotations. Explore tools and interfaces.
Interface language: Open Settings and choose System default, Simplified Chinese, Traditional Chinese or English. Your choice is saved and applied immediately. System default uses English on non-Chinese systems.
Decide whether you need a still explanation or a recording. If you use Windows Snipping Tool or macOS Screenshot, start with selection, markup, preview and save; the four recording steps are alongside.
Open HuiYing and choose full-screen, region or multi-display recording. Set quality (Clear/HD with PRO), audio (PRO) and preferences, saved locally for next time.
After starting, choose shapes, arrows, pens or text on the toolbar, then pick stroke, color and width. Hold Ctrl for squares or circles.
Draw directly on screen: Annotate as you record. Circle points with a pen, point with arrows, add text or hide sensitive information with pixelation/blur. Annotations appear in the video while the screen stays live. Pin annotated screenshots for reference.
Stop to merge segments and open a preview (Free adds a 3-second branded outro). Play, save or copy the video—Ready when you stop, without another editing step.
Use the same shapes, arrows, drawing, text, mosaic and blur for screenshot annotation and recording markup. Select marks to move, resize or edit them.
While recording, click an annotation tool or press E. Choose a tool to draw; pressing only E enters selection mode. Press Esc or right-click to exit, keeping annotations visible while interacting with apps beneath. New annotations cannot be drawn while paused.
Choose a tool and drag on screen. For text, click and type. New annotations are selected automatically.
Five arrows: standard, filled triangle, block, tapered and double-ended. Open the Shape grid for pointing hands, exclamation marks, warning triangles, question marks, prohibition signs, single/double clicks, thumbs up/down, flags and pins. Freeform closes your outline on release, with adjustable stroke, fill and opacity. Hold Ctrl while drawing rectangles, circles and fixed symbols to preserve proportions. This also applies to pen checks, crosses, stars, hearts and symbols, but not lines, freeform, waves or zigzags.
Pens include a speed-sensitive brush, flat marker and trail arrow following your curve. Choose Stroke for line effects, or Pattern for waves, zigzags, checks, crosses, stars, hearts and the same symbols as Shapes. Width is adjustable. Left-drag waves and zigzags freely along curves or loops.
Select: click an existing annotation, or Ctrl+click to select directly. Dashed outlines and handles hide after 1.5 seconds without deselecting. Hover to show them again.
Move: drag the central move handle or right-drag the annotation. Resize: drag corners/edges, or select and use Ctrl+wheel.
Edit text: select plain text, numbered text or a spotlight caption, or click the pencil. Click empty space to close editing. Delete: click the central ×.
Tab / Shift+Tab cycles through annotations without opening text editing; ↑↓←→ moves by 1 canvas pixel (hold to keep moving); E edits text; Del deletes.
Text edits apply immediately. Enter or Esc closes the editor and keeps changes. IME composition is not interrupted by these keys.
Suggested workflow: E to enter → Tab to select → Arrow keys to adjust → Esc to exit. Selection handles, outlines and icons hide automatically, leaving the annotation itself.
Spotlight captions can sit above, below or vertically on either side. The default ellipse has a lens highlight; hold Ctrl for a circle.
Screenshot editors can annotate directly without pressing E. In scrolling captures, right-drag empty space to pan, or drag an annotation to select and move it.
Eleven screenshots cover recording markup, screenshots, scrolling capture, OCR, pinning and the mini toolbar. Examples mainly show Windows; Mac windows and permissions follow macOS. Click to inspect.
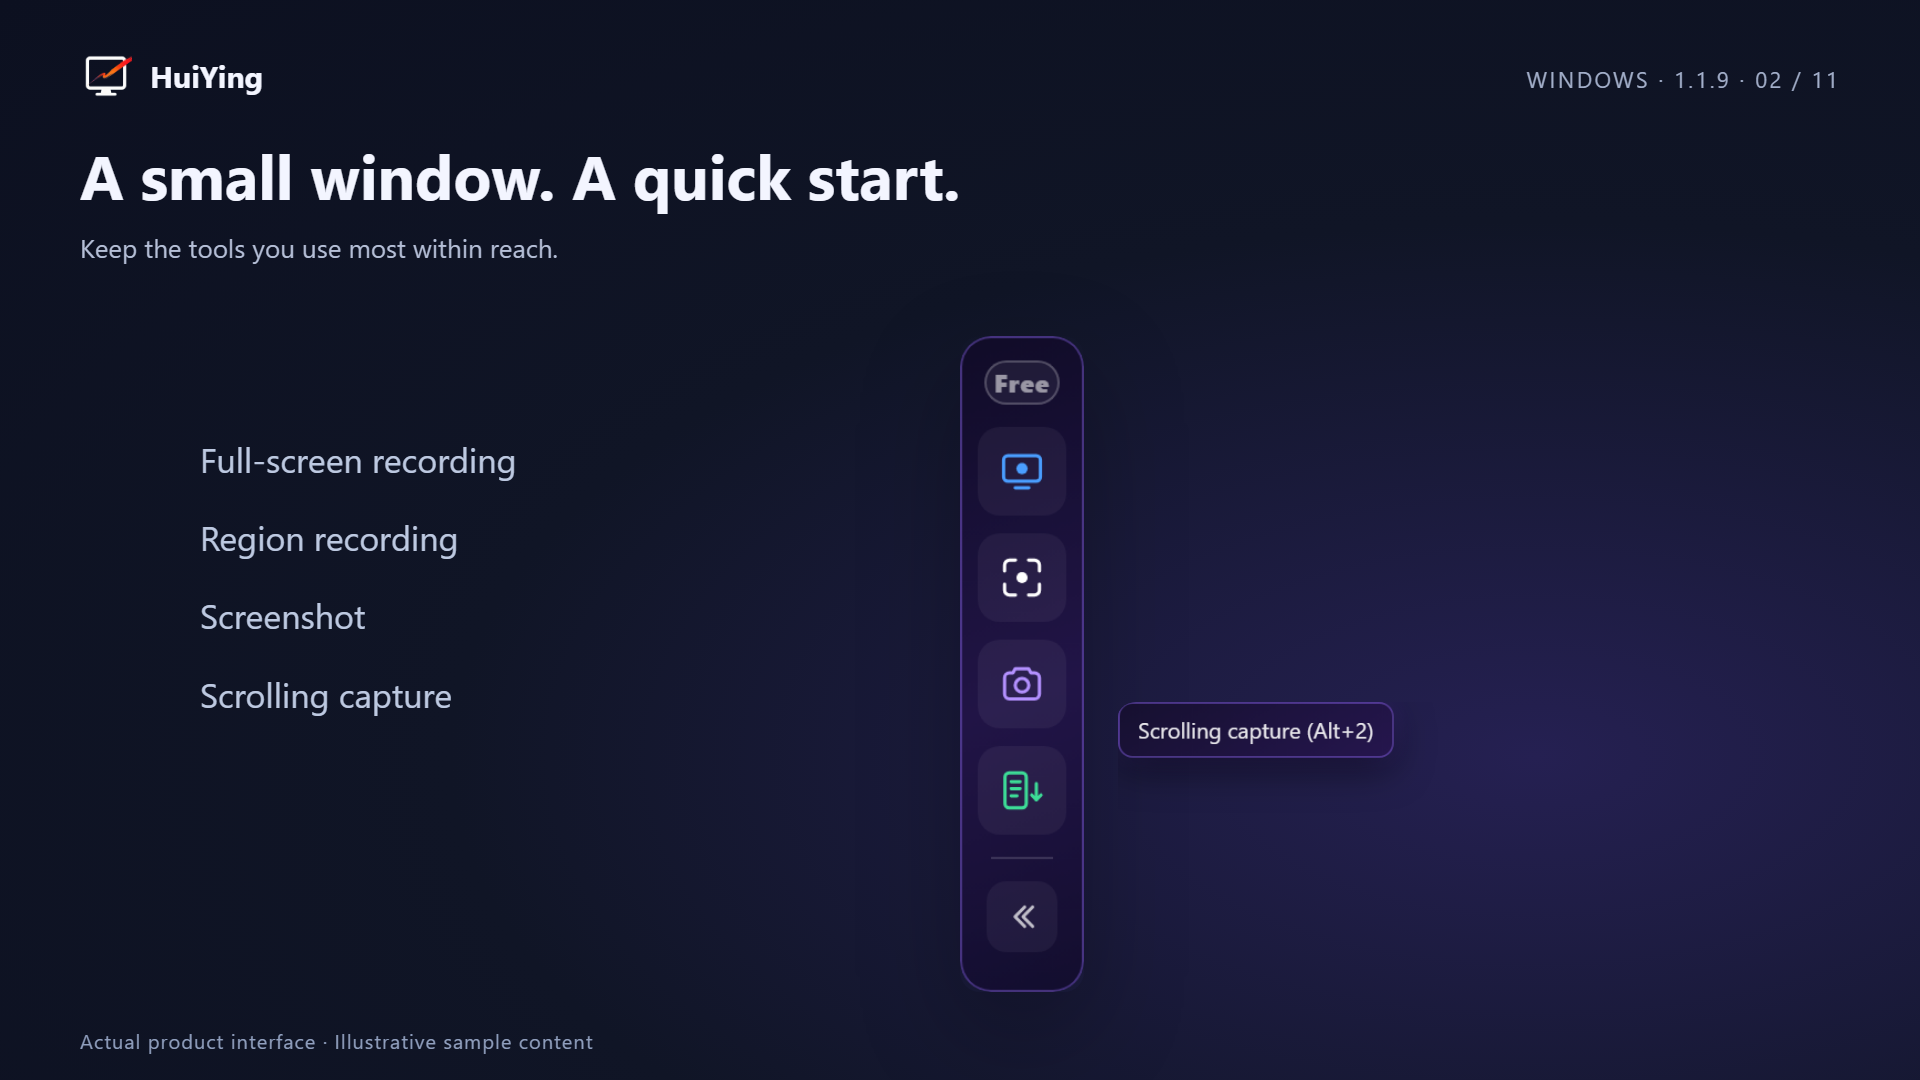
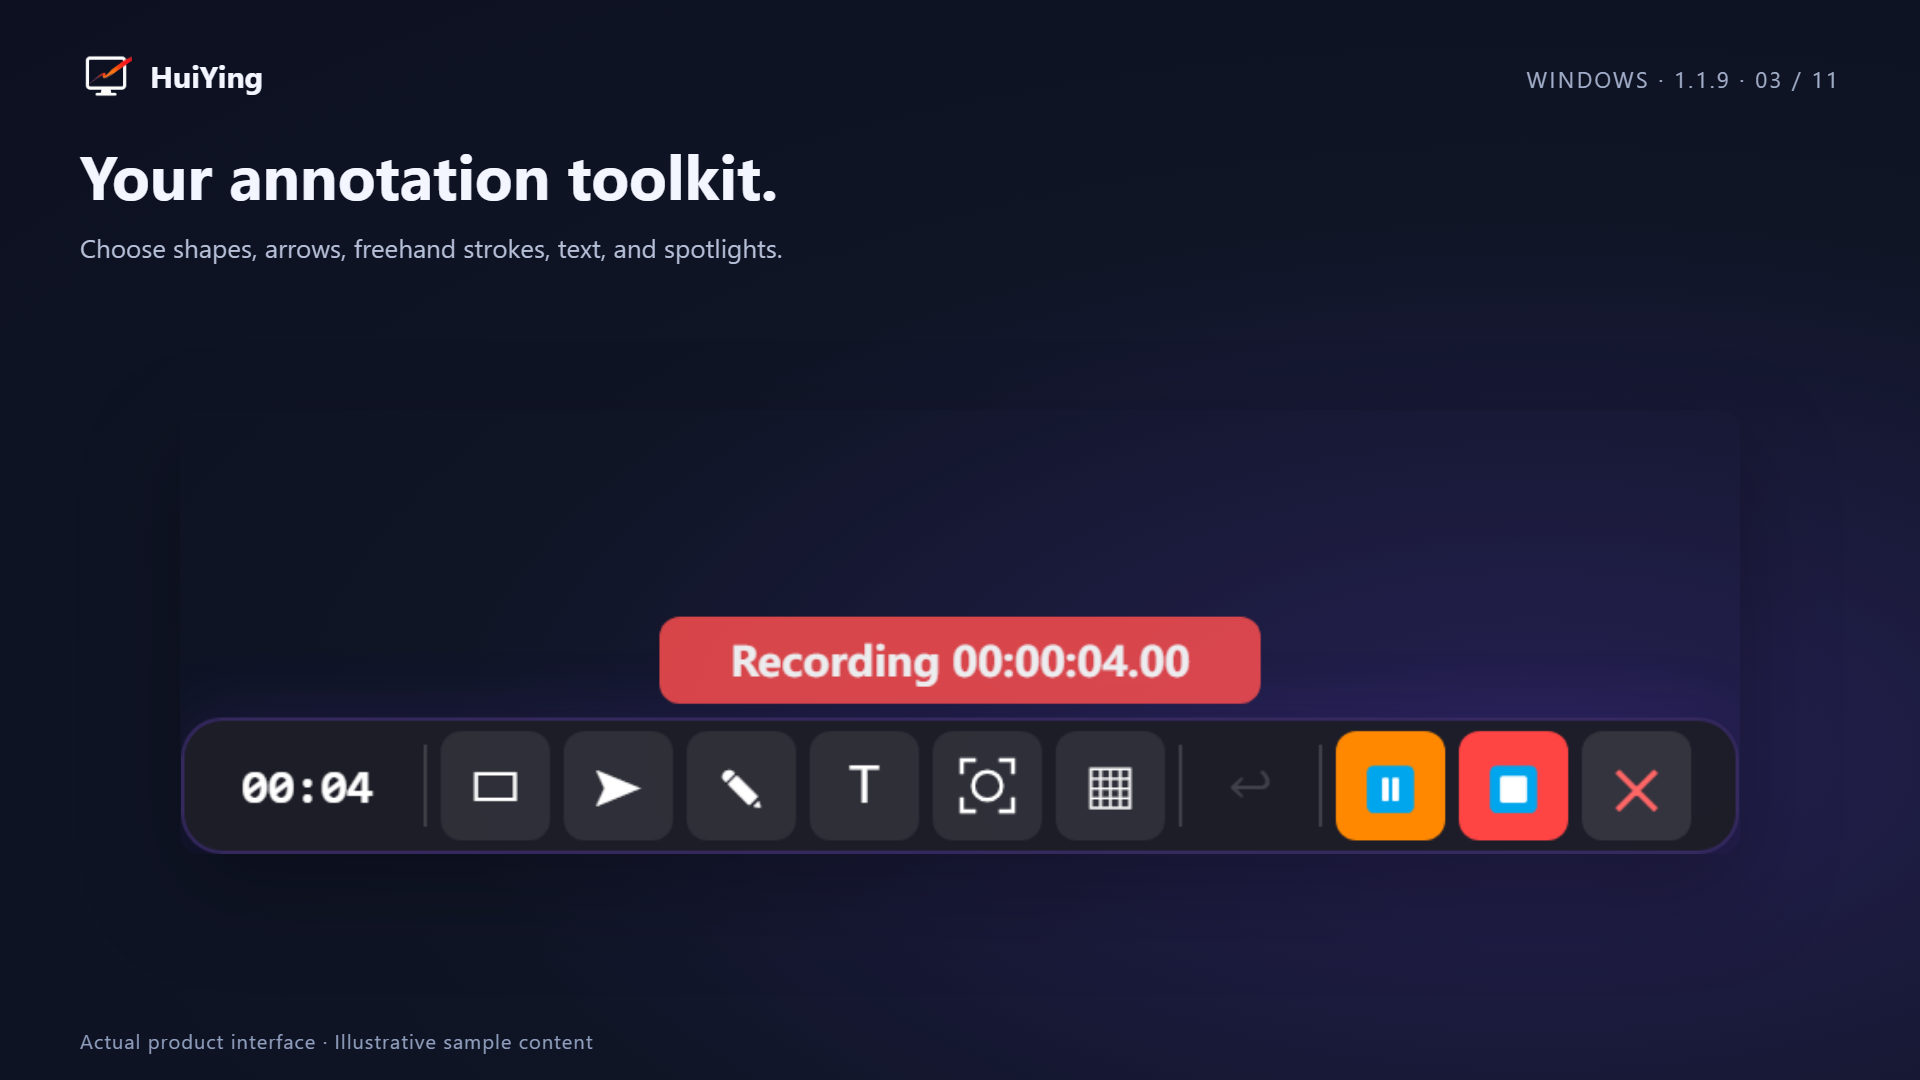
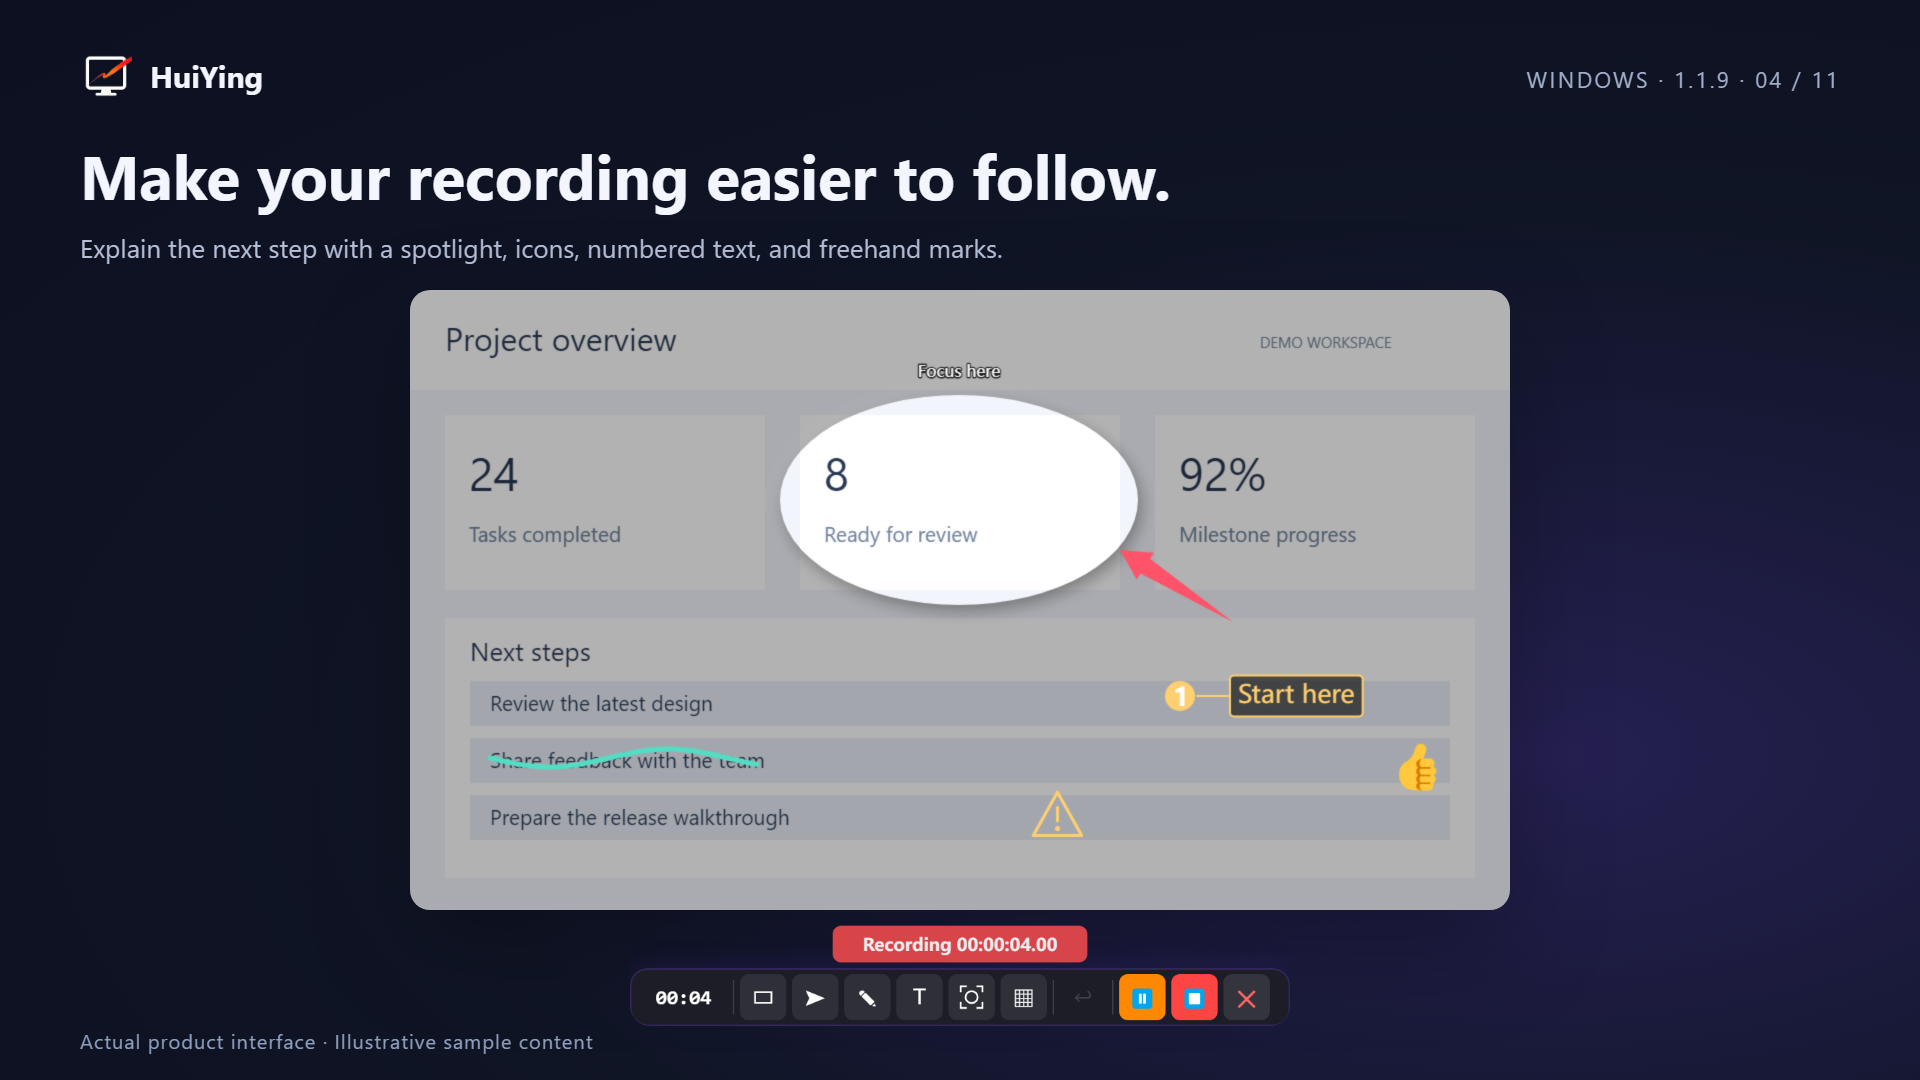
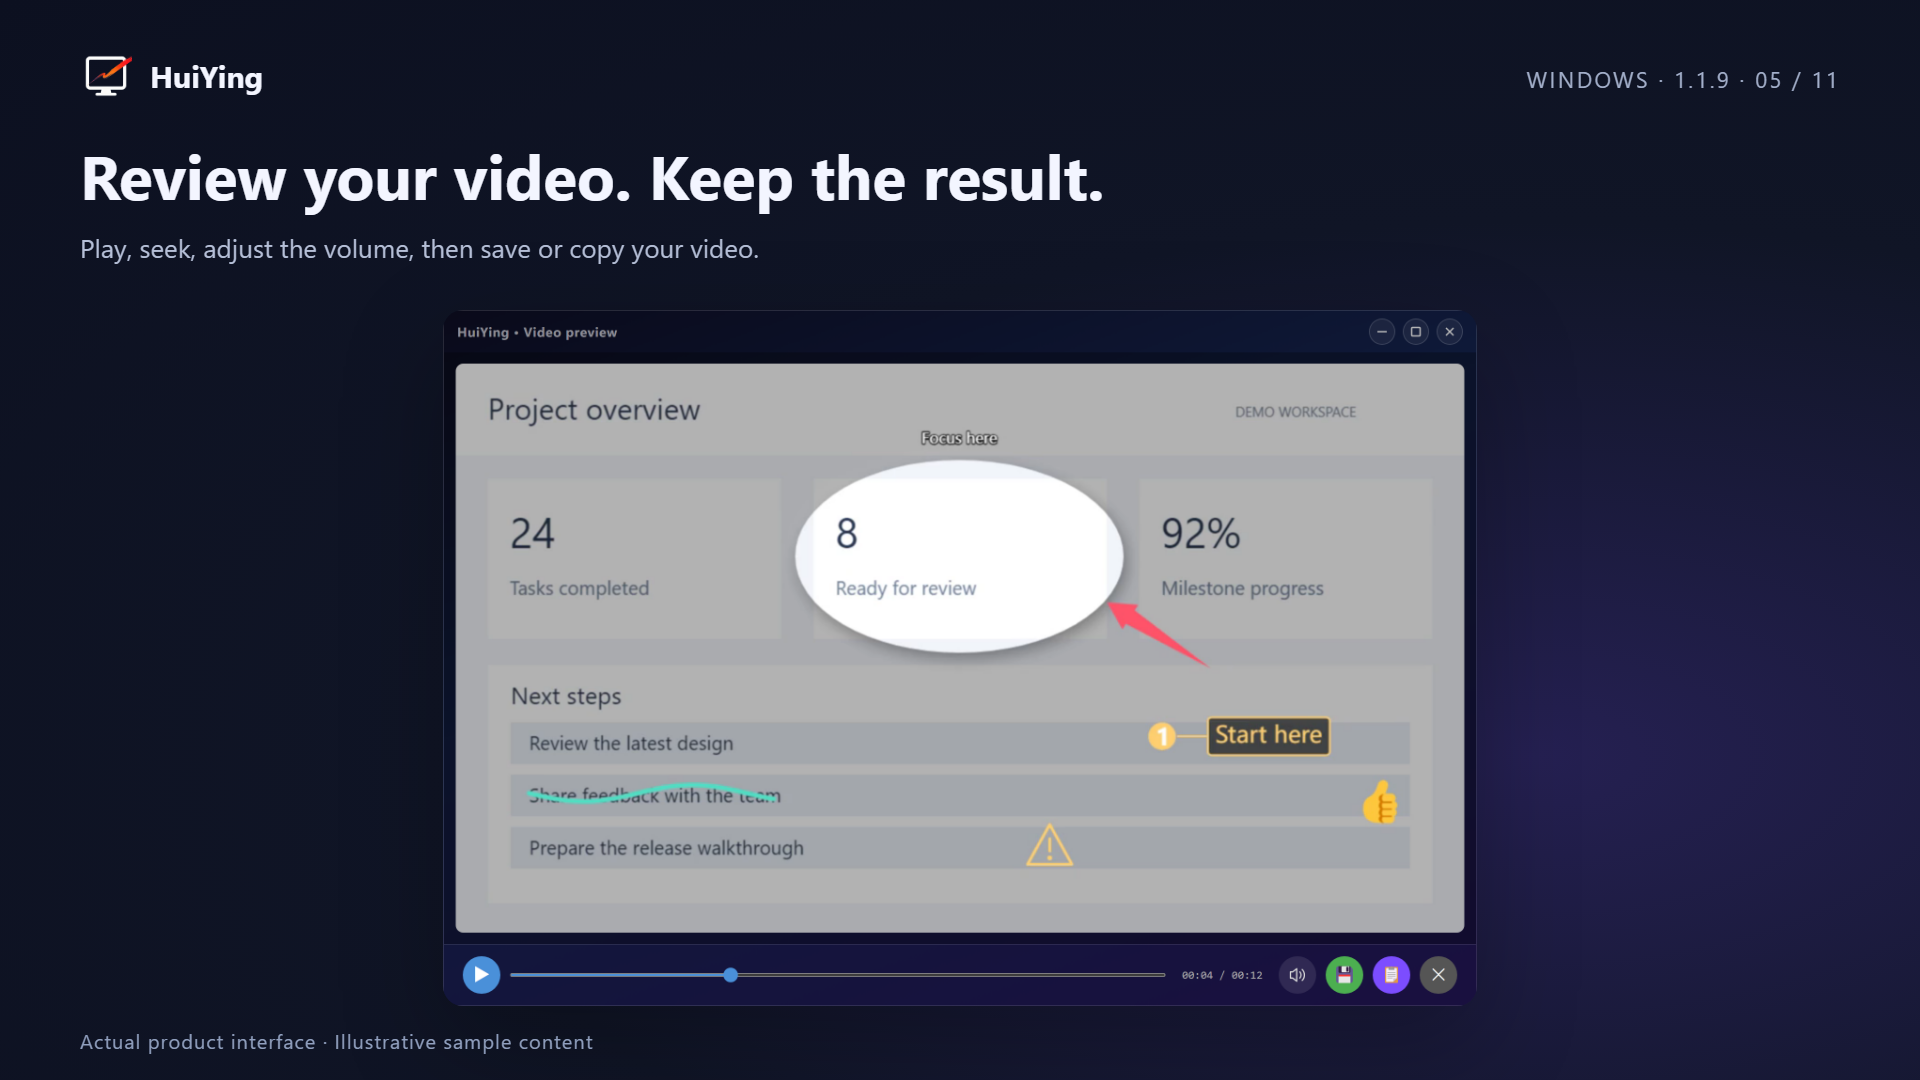
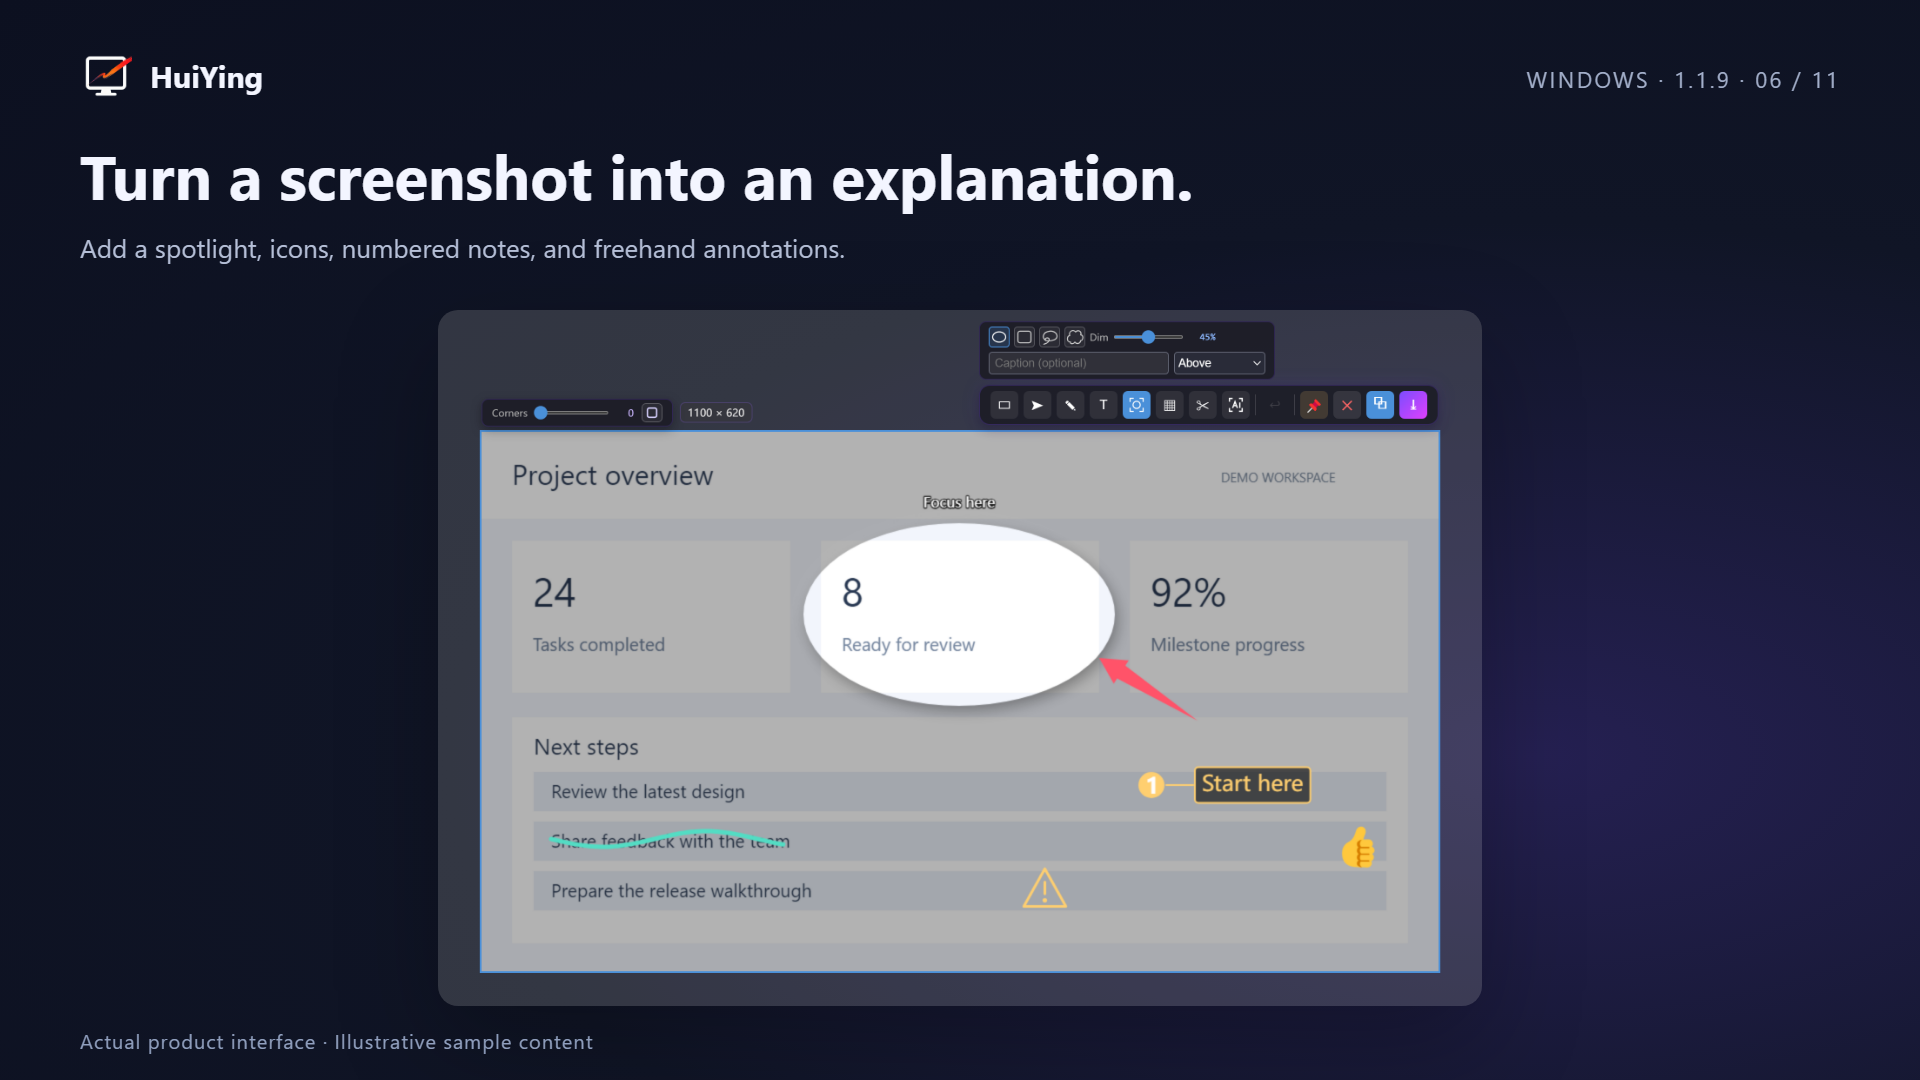
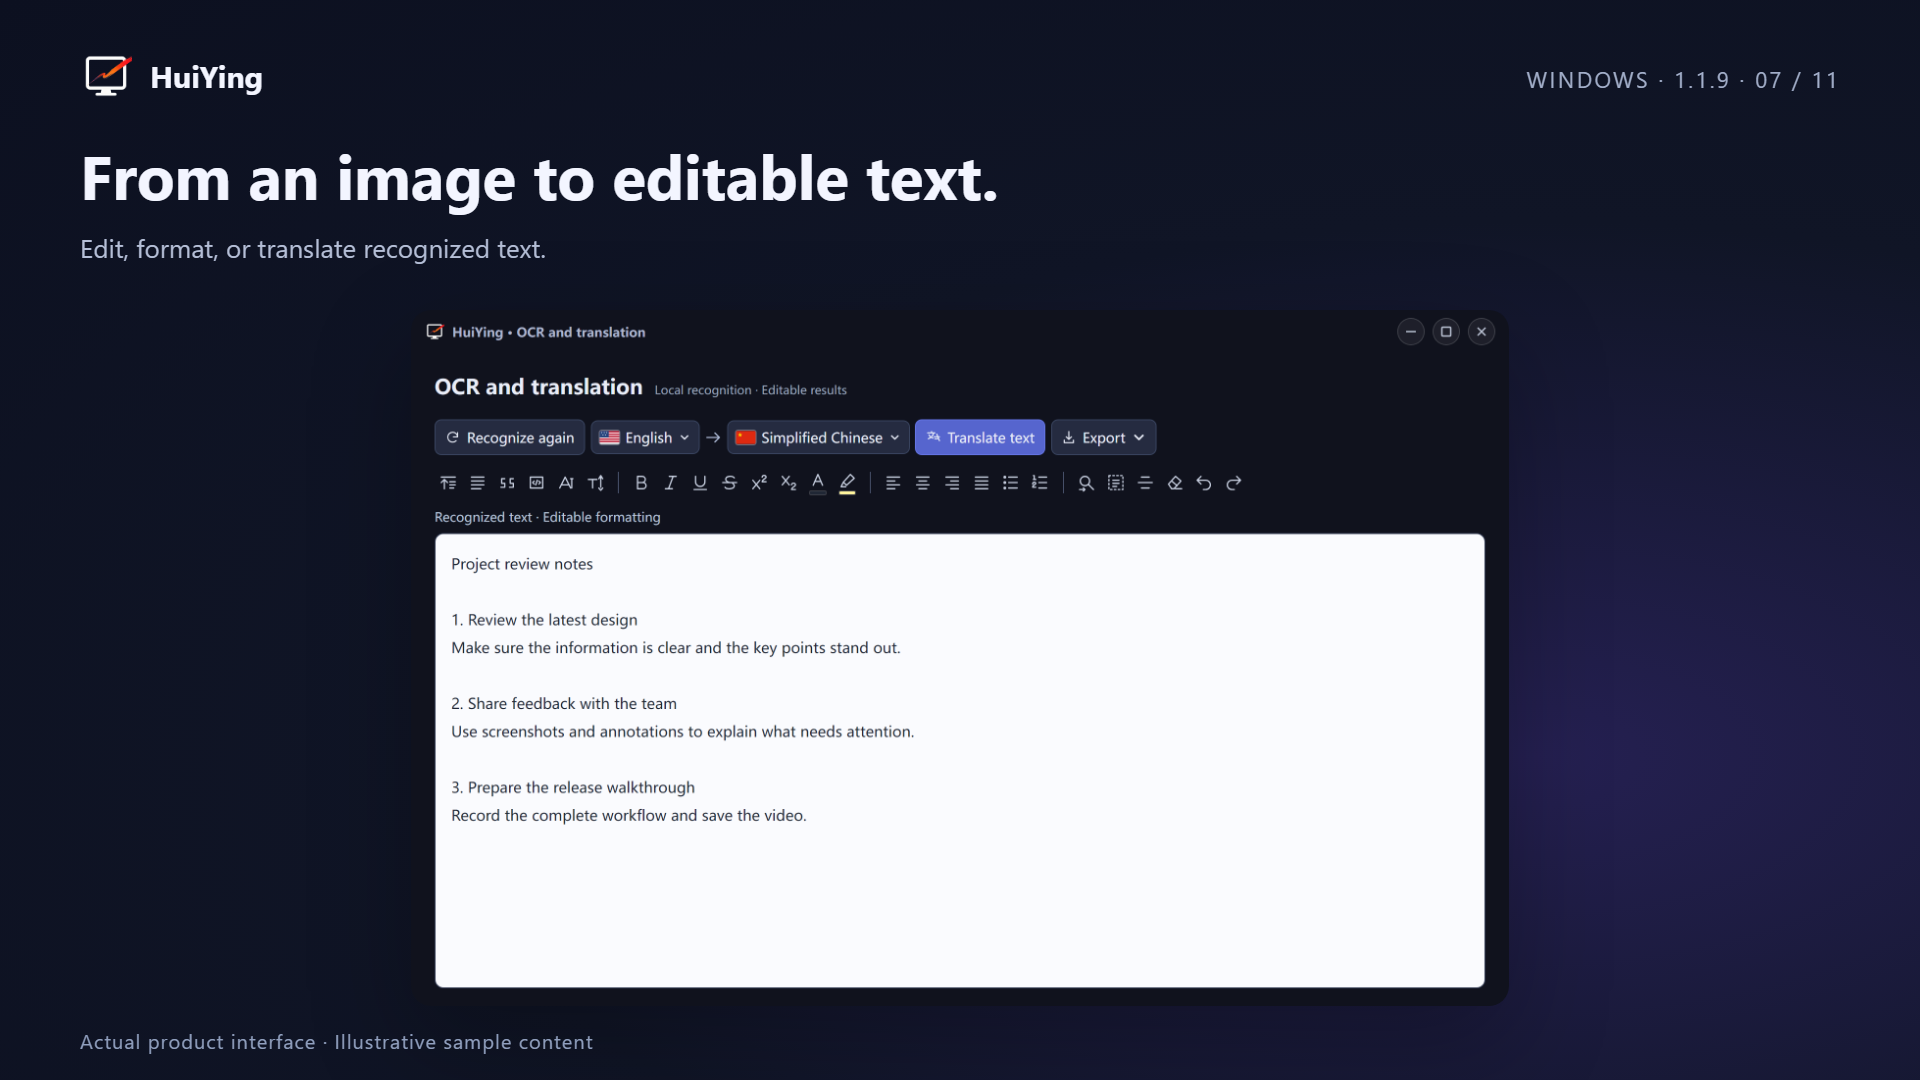
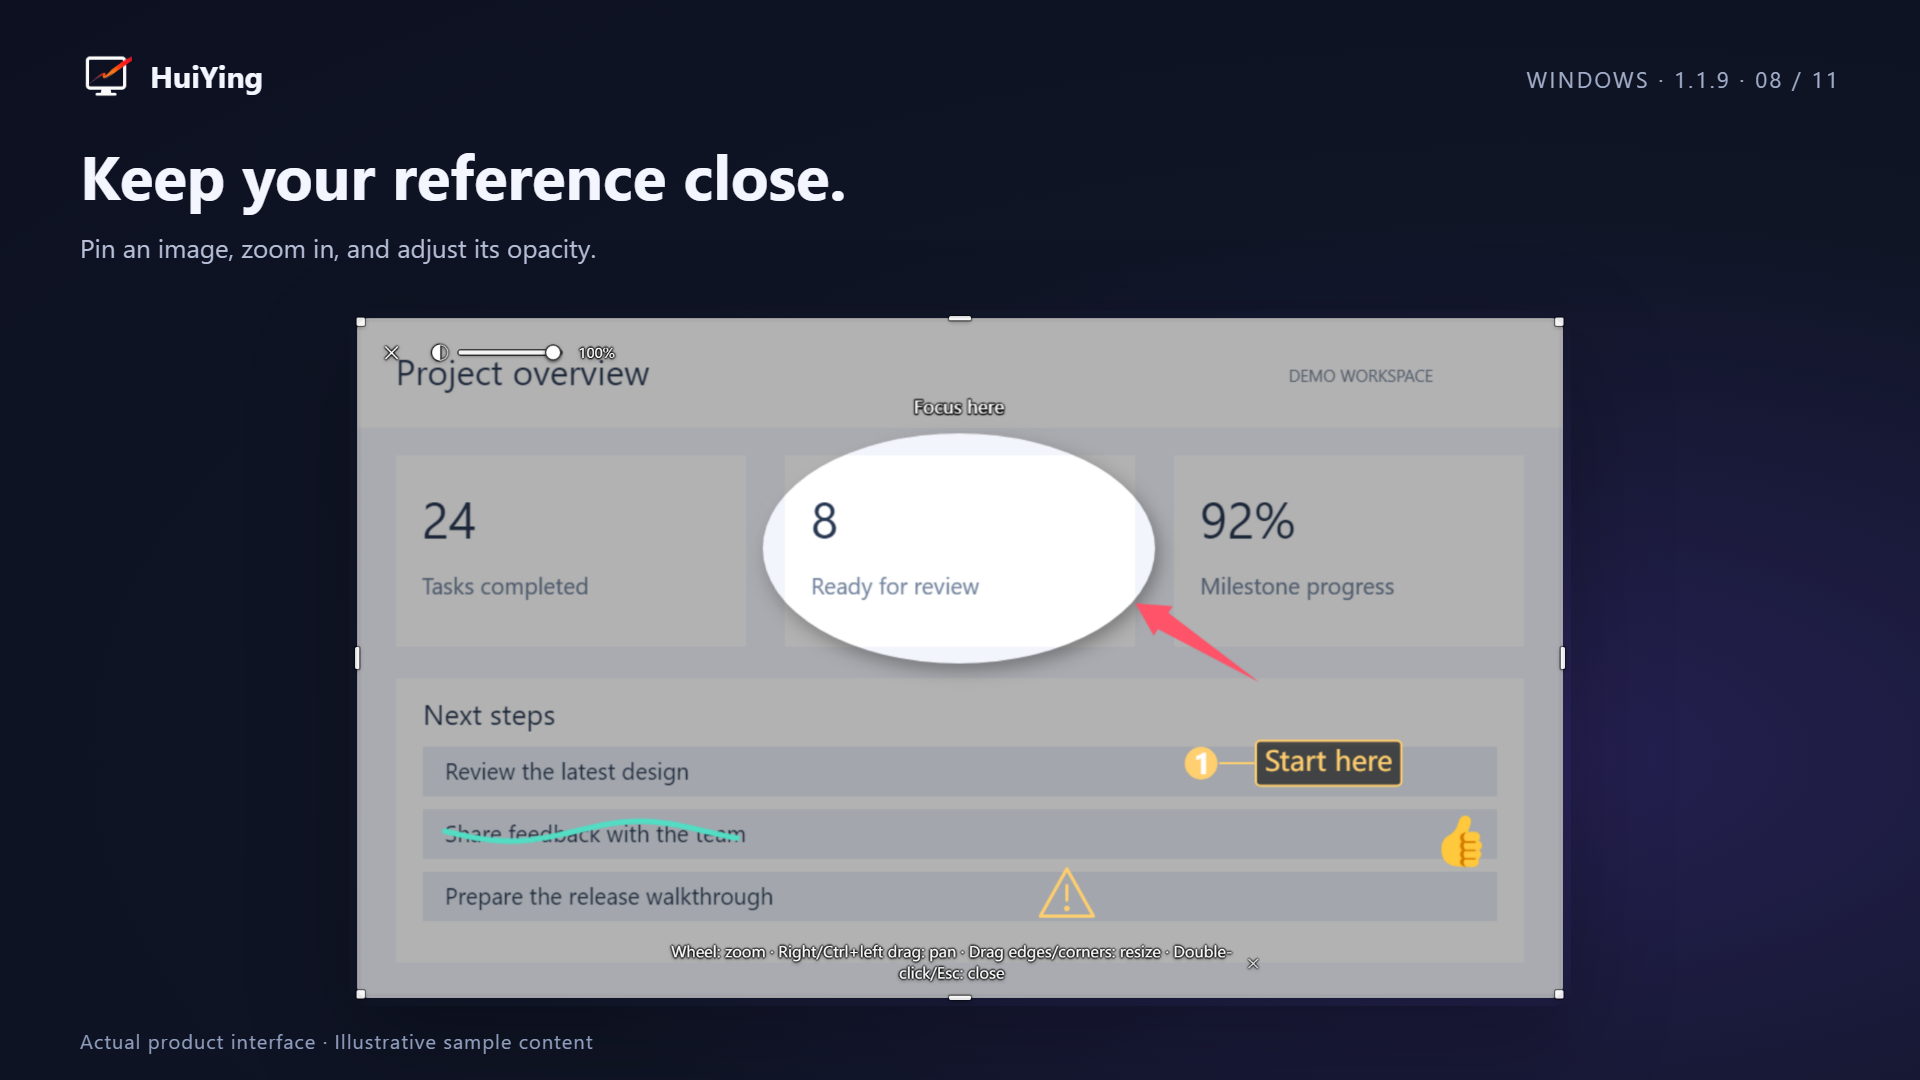
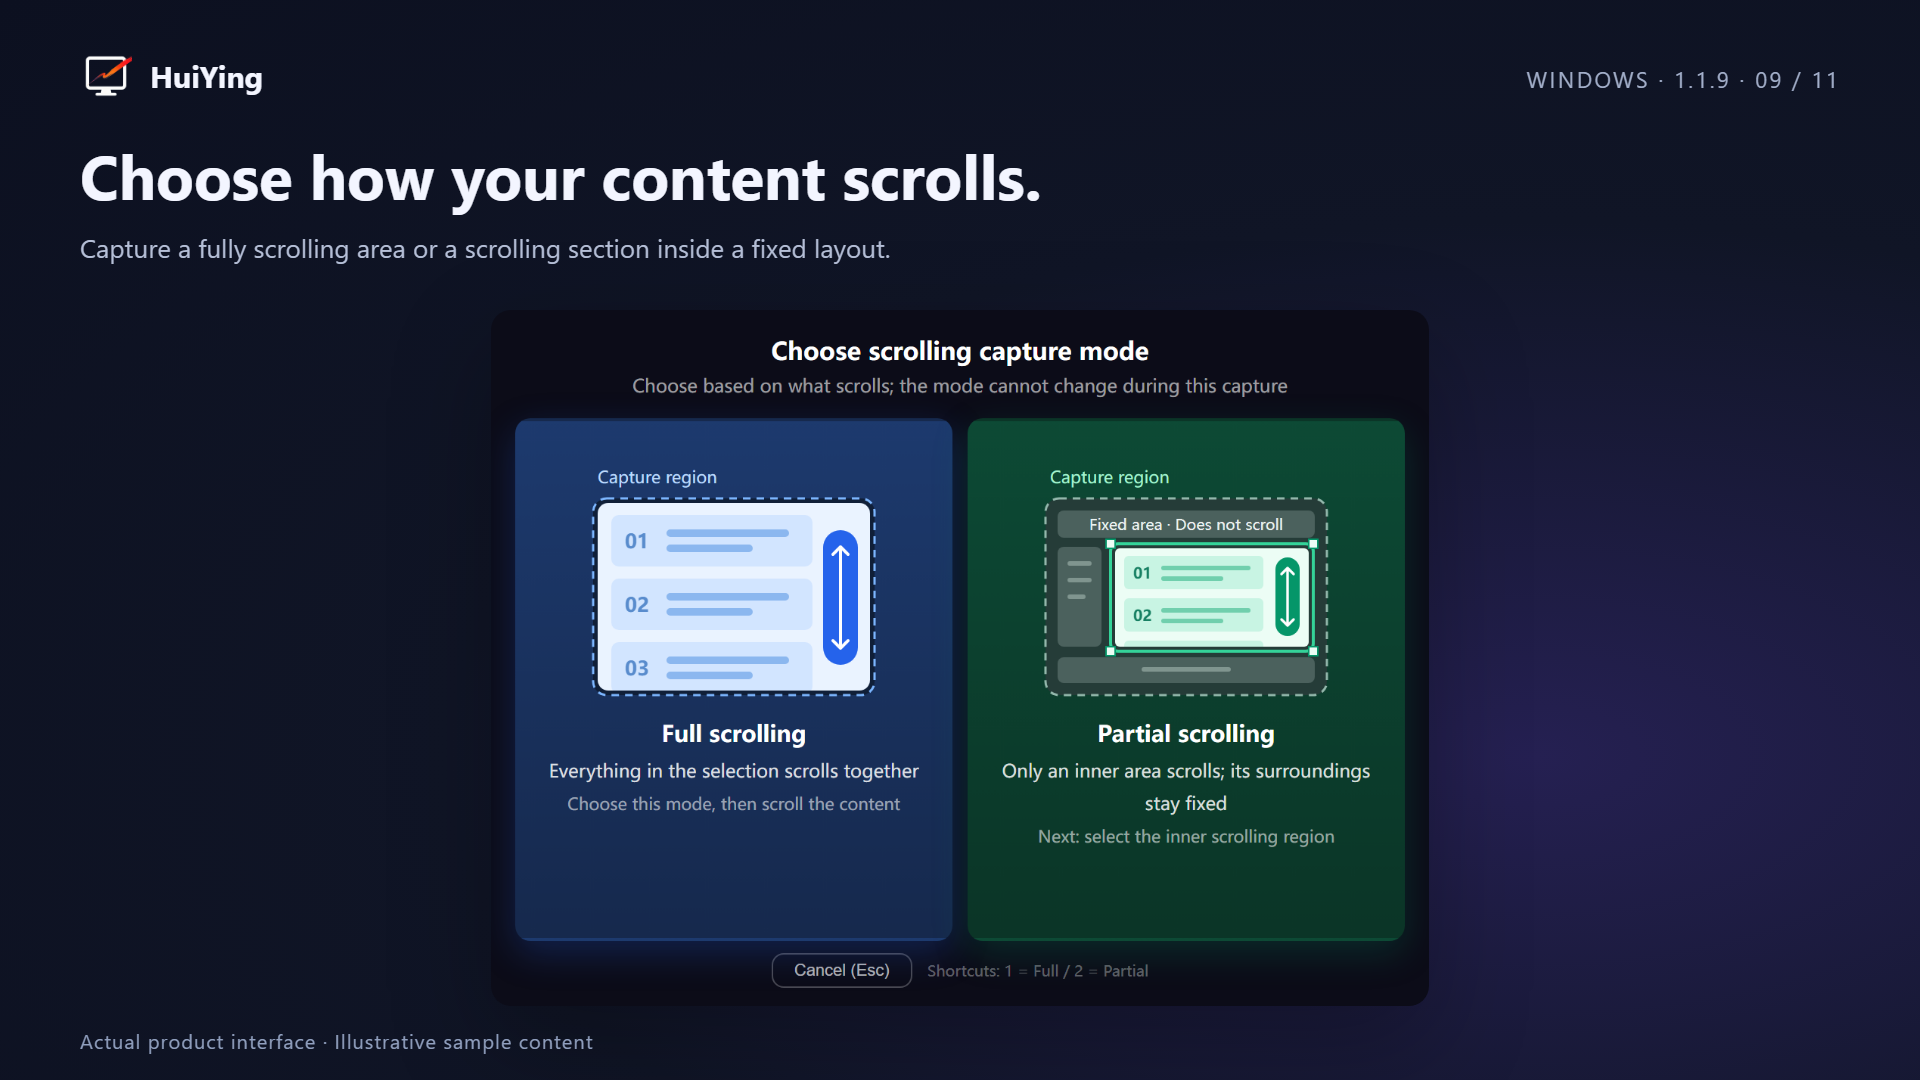
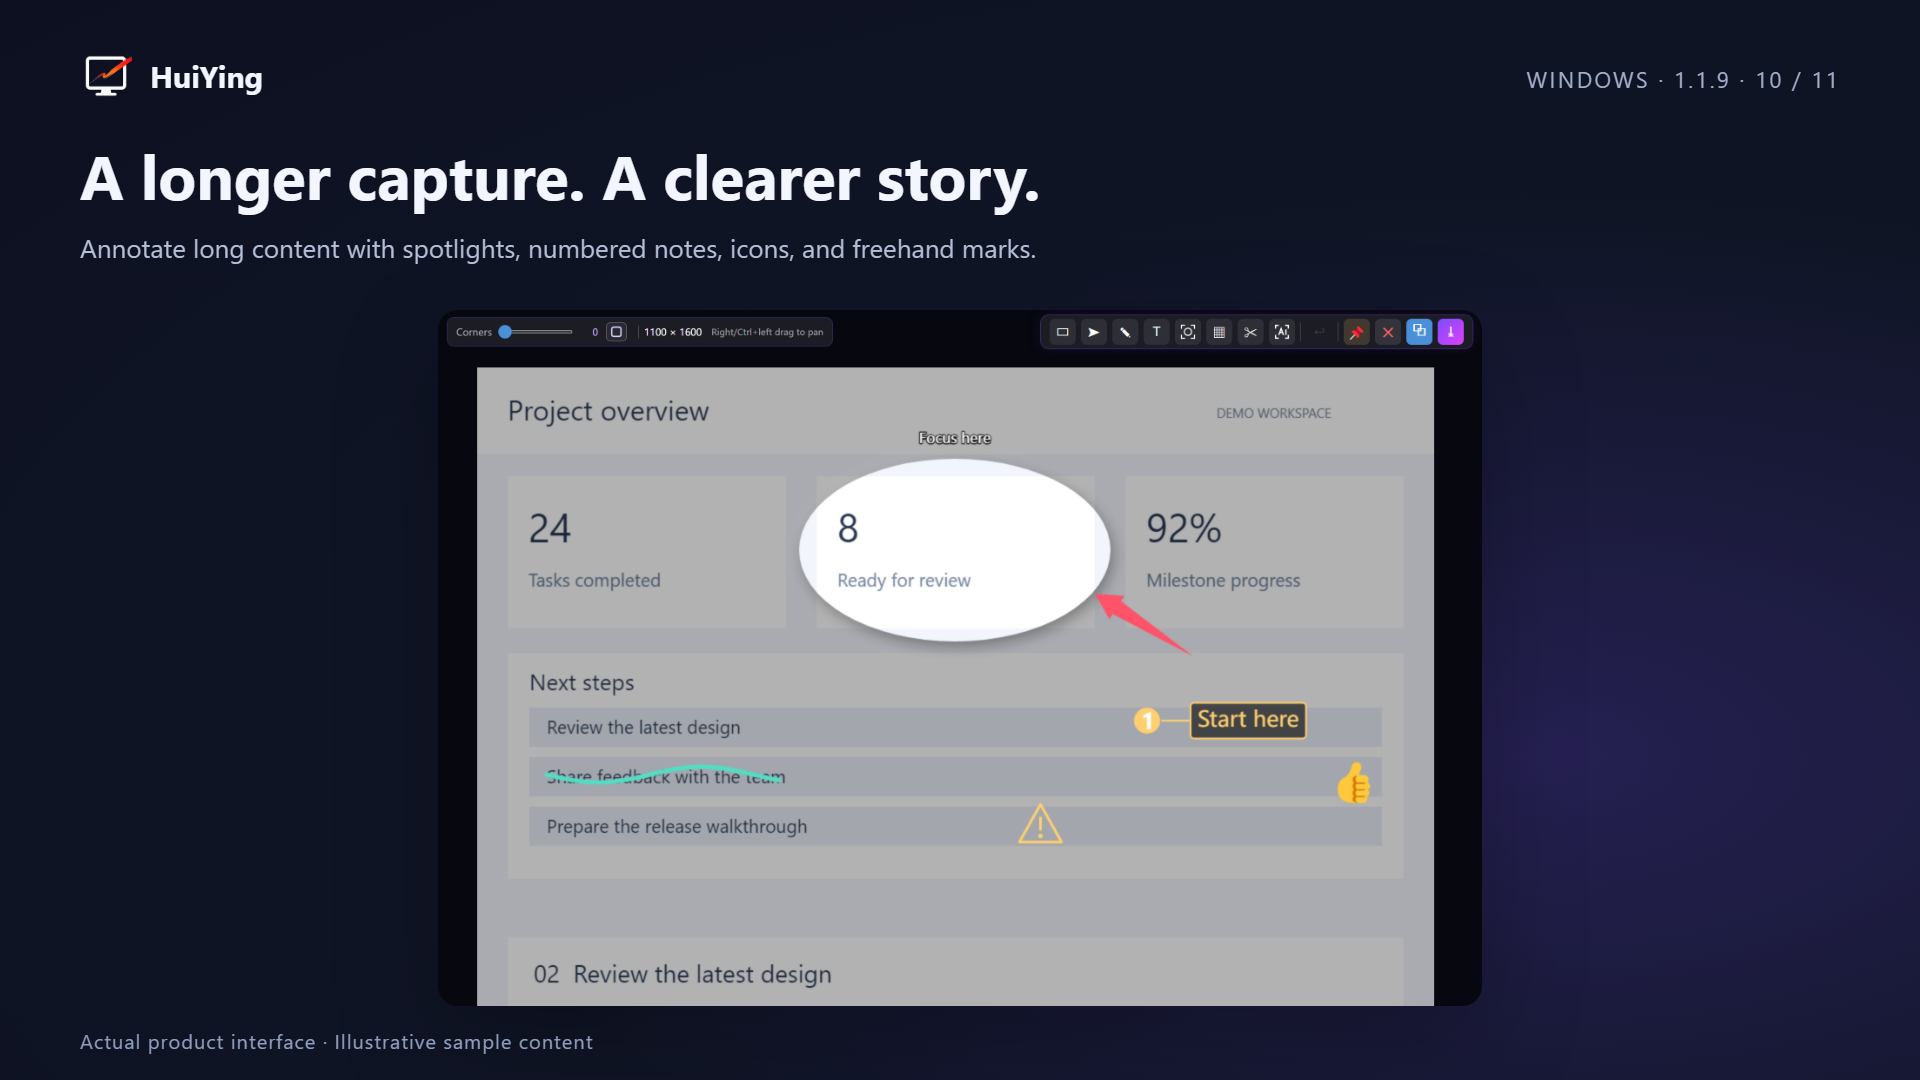
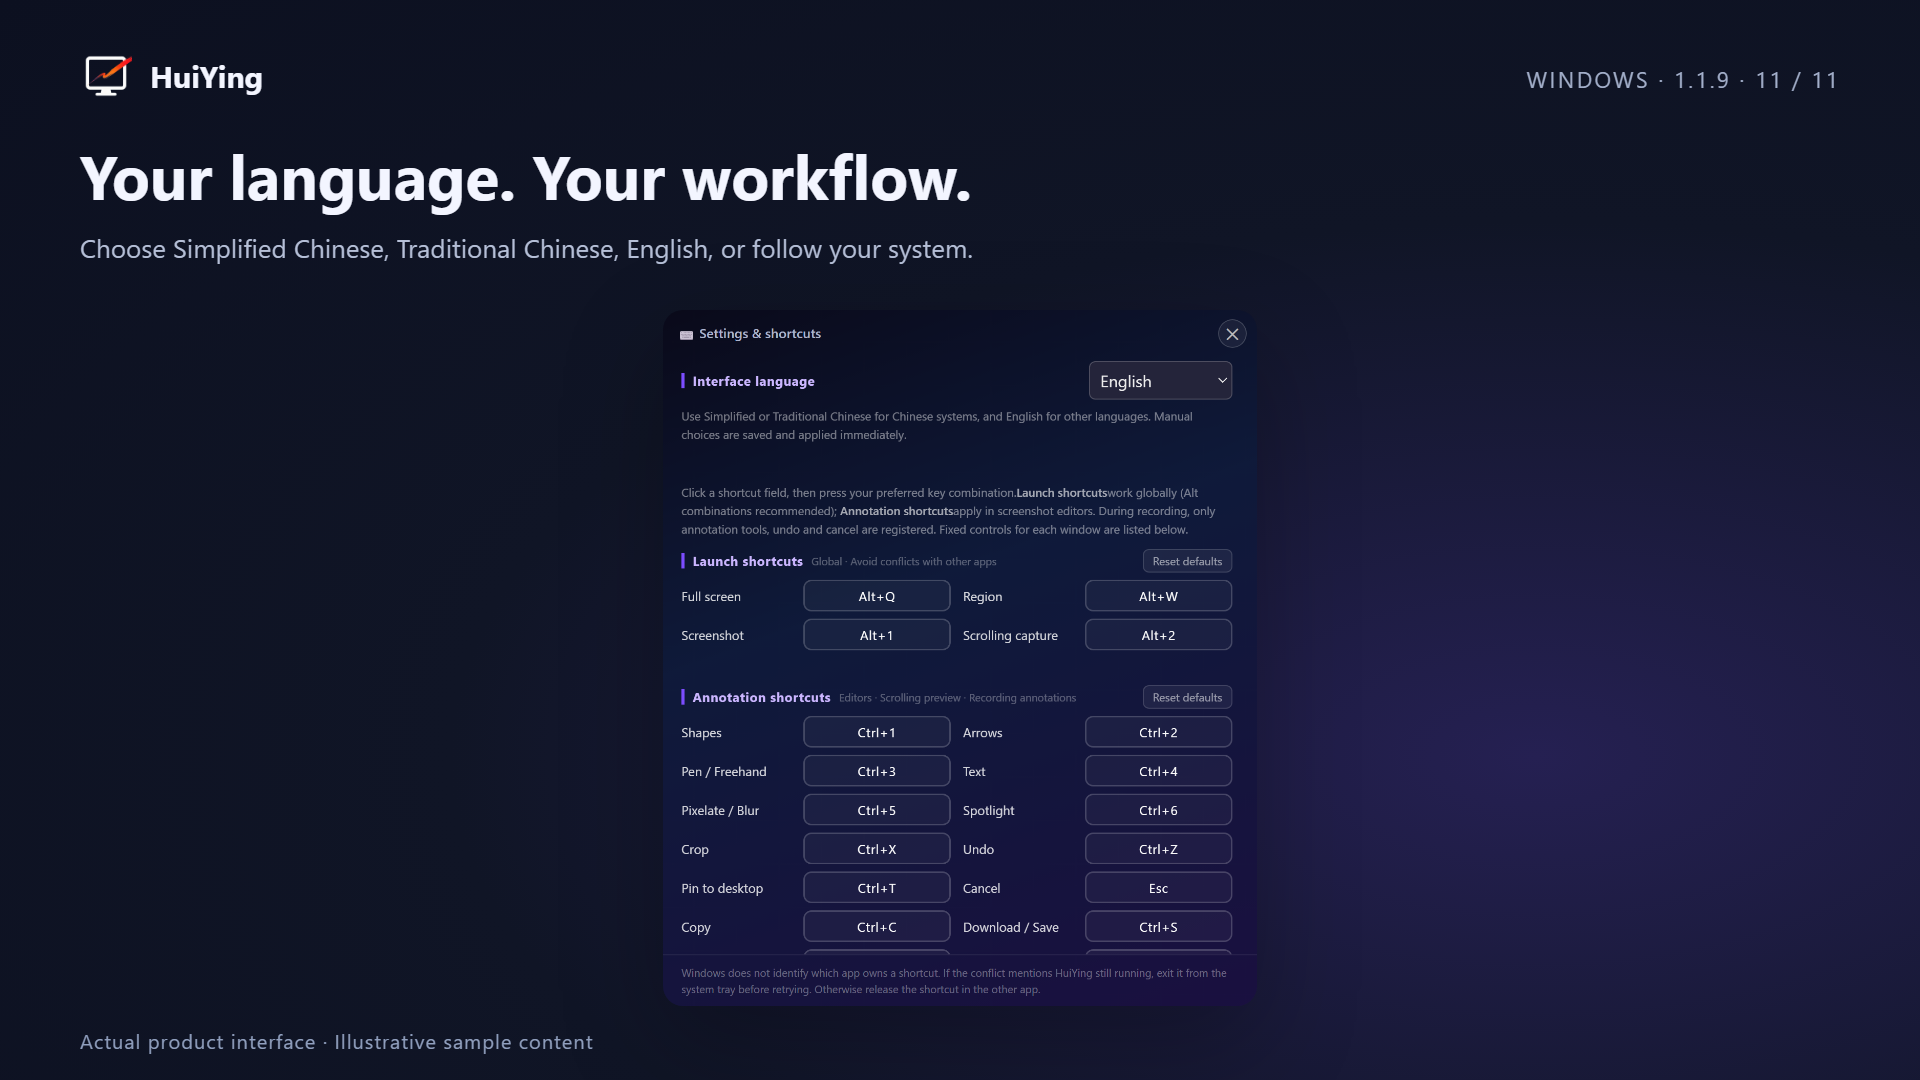
Bring screenshot-style markup into recording: explain as you record and keep editing after capture, reducing separate annotation steps and tool switching.
Add arrows, text and numbers while demonstrating software, explaining an error or making a tutorial. Save the marks with the video and preview the result.
See pages, software and video continue updating while you annotate. Explain a continuous demonstration without first freezing the screen and switching back.
Shapes, arrows, pens and text, plus pixelation and blur. Highlight key details with translucent strokes and obscure sensitive information when sharing.
Keep recording, screenshot and scrolling-capture controls at the screen edge. Tuck the mini toolbar away and expand it when needed, reducing interruptions.
Use a screenshot for one explanation, a scrolling capture for content beyond one screen, or recording markup for a sequence of actions. Customize shortcuts in settings.
Recording, screenshots, stitching and OCR run locally; generated media is not automatically uploaded. Accounts, updates, requested translation, feedback and optional analytics use the network as described in the privacy notice.